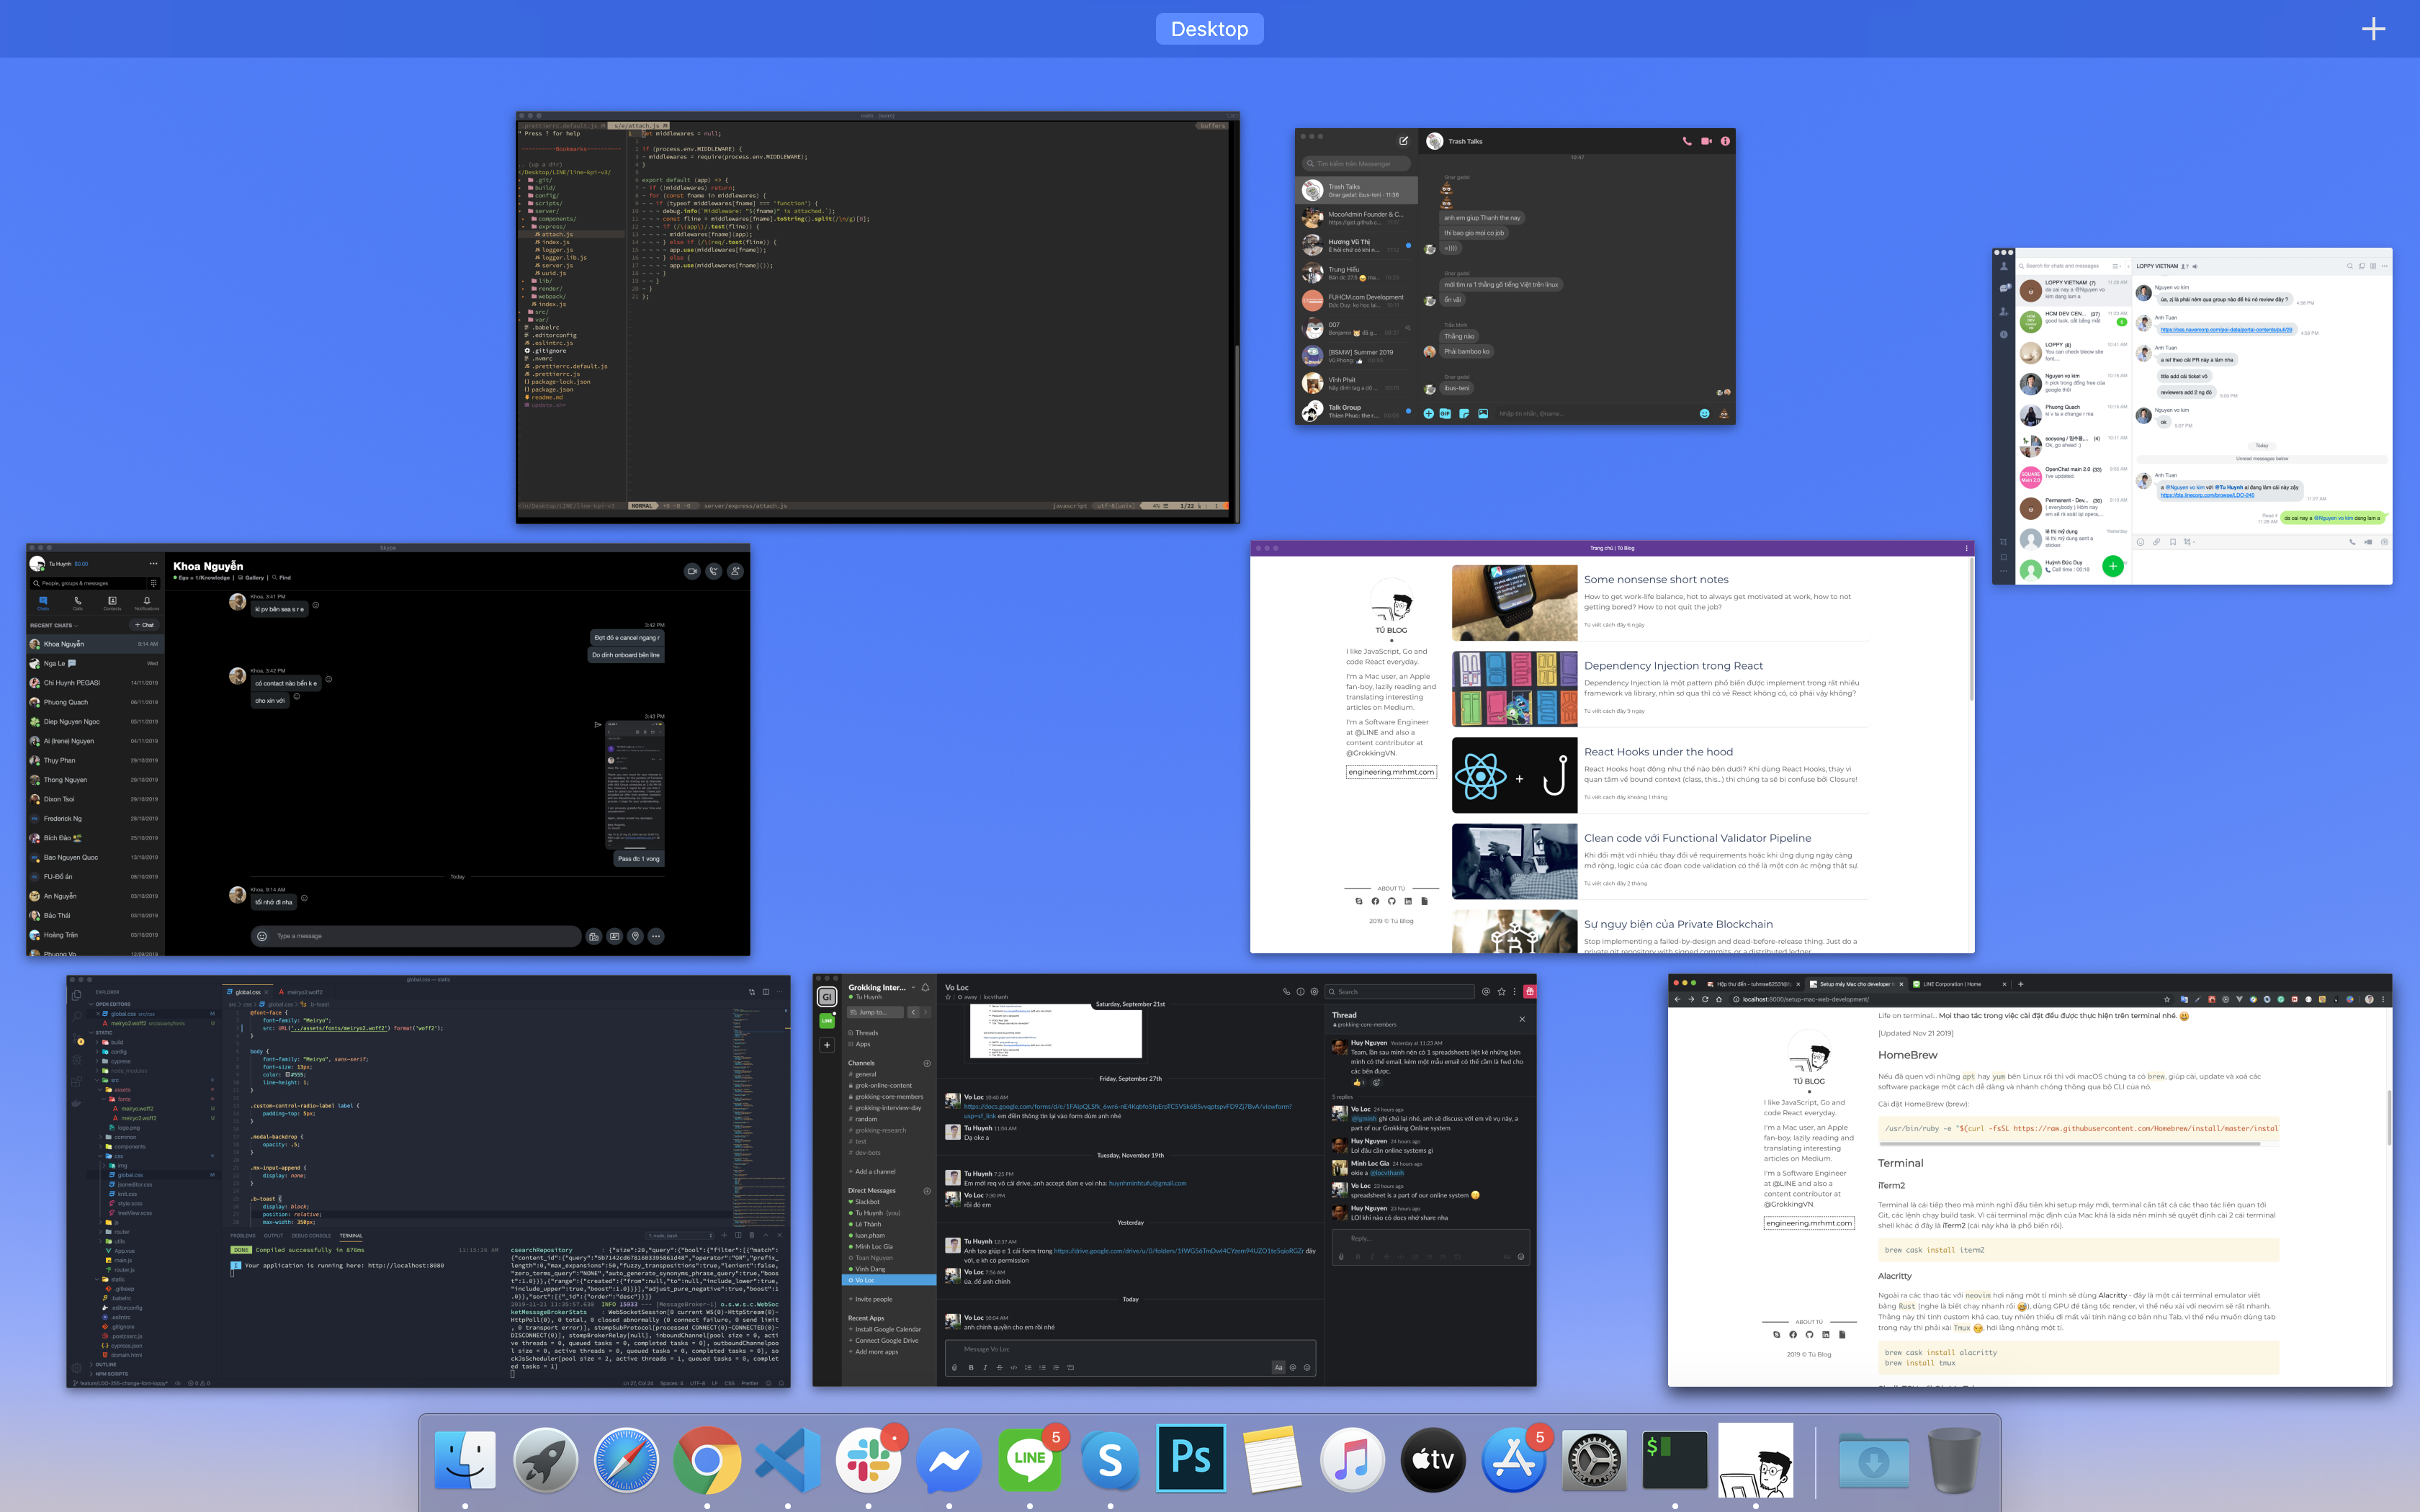
Setting up a Mac for developers in no time
If all you need is to code basic static pages, Chrome and Notepad are enough 😄, but I work a lot with build scripts, build tools and the terminal, so my setup is a bit more complicated.
If all you need is to code basic static pages, Chrome and Notepad are enough 😄, but I work a lot with build scripts, build tools and the terminal, so my setup is a bit more complicated.
brew install neofetch
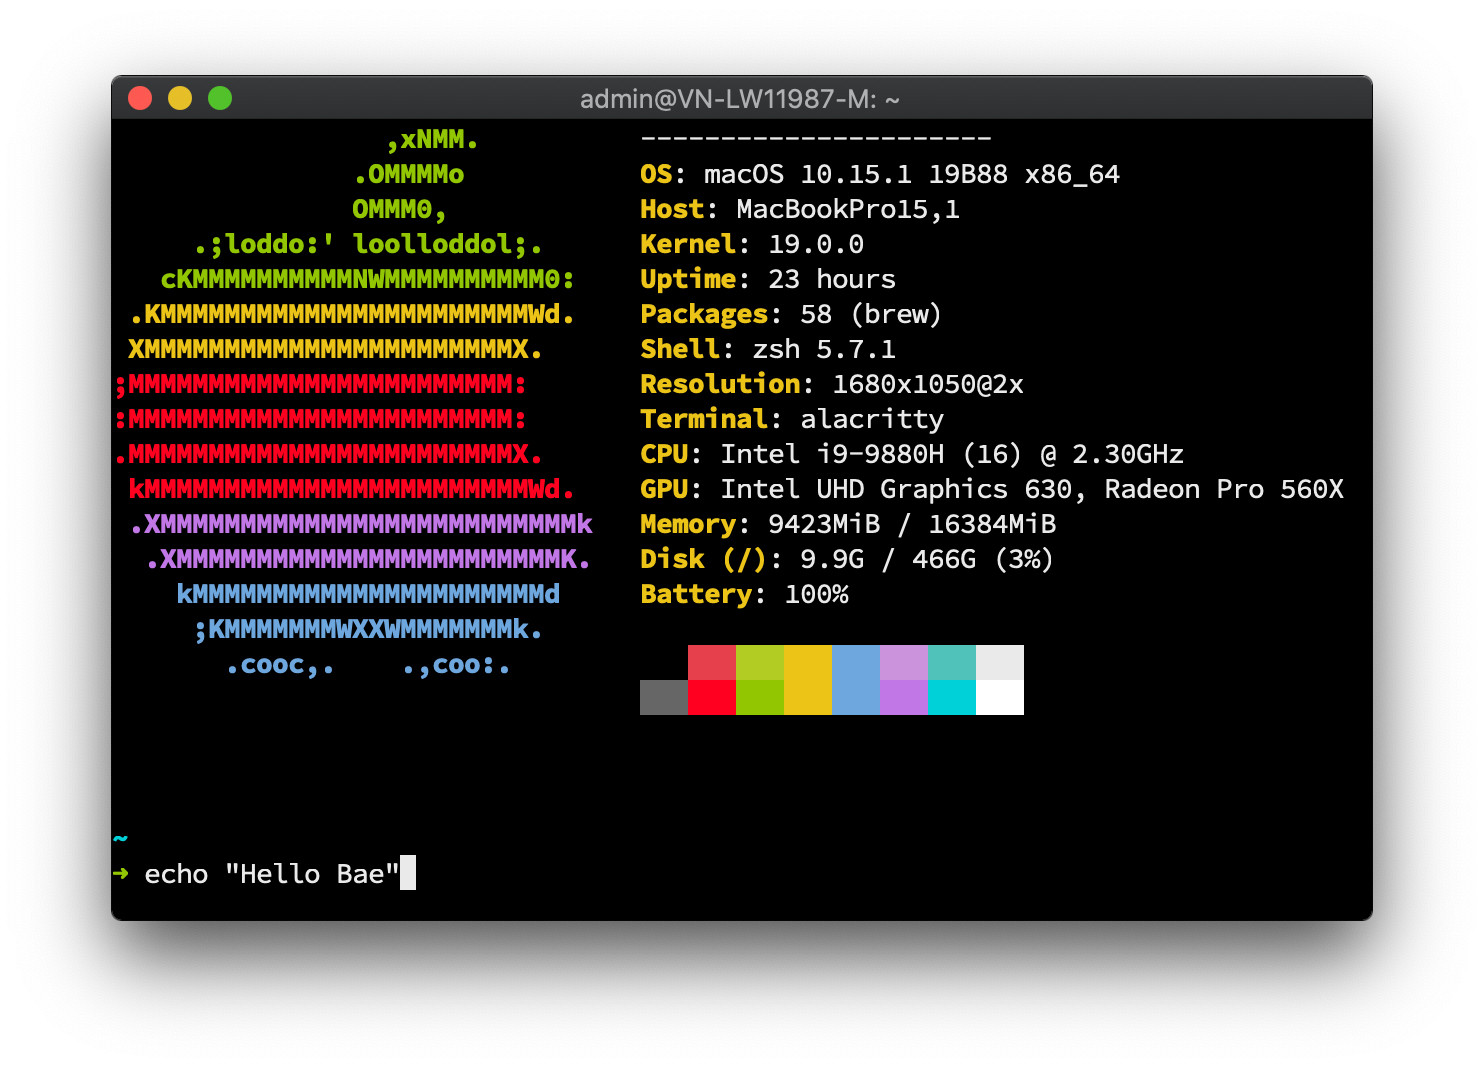
Life on terminal… Everything in the installation is done on the terminal, okay. 😃
[Updated Nov 21 2019]
Package Management
HomeBrew
If you’re used to apt or yum on Linux, then on macOS we have brew, which lets you install, update and remove software packages easily and quickly through its CLI.
Install HomeBrew (brew):
/usr/bin/ruby -e "$(curl -fsSL https://raw.githubusercontent.com/Homebrew/install/master/install)"
Nix (WIP)
Trying Nix instead of HomeBrew to manage packages
sh <(curl https://nixos.org/nix/install)
The packages are listed in ~/.config/nixpkgs/config.nix
{
  allowUnfree = true;
  packageOverrides = pkgs: with pkgs; {
    myPackages = pkgs.buildEnv {
      name = "my-packages";
      paths = [
        aria2
        cmake
        ffmpeg
        fzf
        git
        gitAndTools.git-extras
        gitAndTools.hub
        gnupg
        go
        htop
        jq
        neovim
        nodejs
        parallel
        (python38.withPackages (ps: with ps; [ pip setuptools ]))
        reattach-to-user-namespace
        ripgrep
        ruby
        starship
        stow
        tldr
        tmux
        tree
        zsh
      ];
    };
  };
}
To install them all:
nix-env -iA nixpkgs.myPackages --verbose
Terminal
iTerm2
The terminal is the next thing I think of when setting up a new machine, since the terminal handles everything related to Git and running build tasks. Because the default Mac terminal is pretty lame, I decided to install another terminal here, iTerm2 (this one is already quite popular).
brew install --cask iterm2
Alacritty
Also, for heavier work with neovim I use Alacritty - a terminal emulator written in Rust (you can tell it’s fast just from that 😅), which uses the GPU to speed up rendering, so with neovim it’s very fast. It’s highly customizable, but it’s missing some basic features like Tabs, so if you want tabs in it you have to use Tmux 😏, which is a bit of a hassle.
brew install --cask alacritty
brew install tmux
Shell: ZSH with Oh My Zsh
Install ZSH with HomeBrew:
brew install zsh
Using a terminal without Zsh/Fish is boring, and here I use Oh My Zsh, which is pretty popular. Using zsh makes typing commands in the terminal faster and more convenient, with lots of nice utils and aliases, and it also makes your commands look cooler 😏.
I also use Oh My Zsh with the SpaceShip theme and a few other basic plugins.
sh -c "$(curl -fsSL https://raw.githubusercontent.com/robbyrussell/oh-my-zsh/master/tools/install.sh)"
To use a custom theme, install the SourceCode Pro font too, which you can install via HomeBrew:
brew tap homebrew/cask-fonts && brew install --cask font-source-code-pro
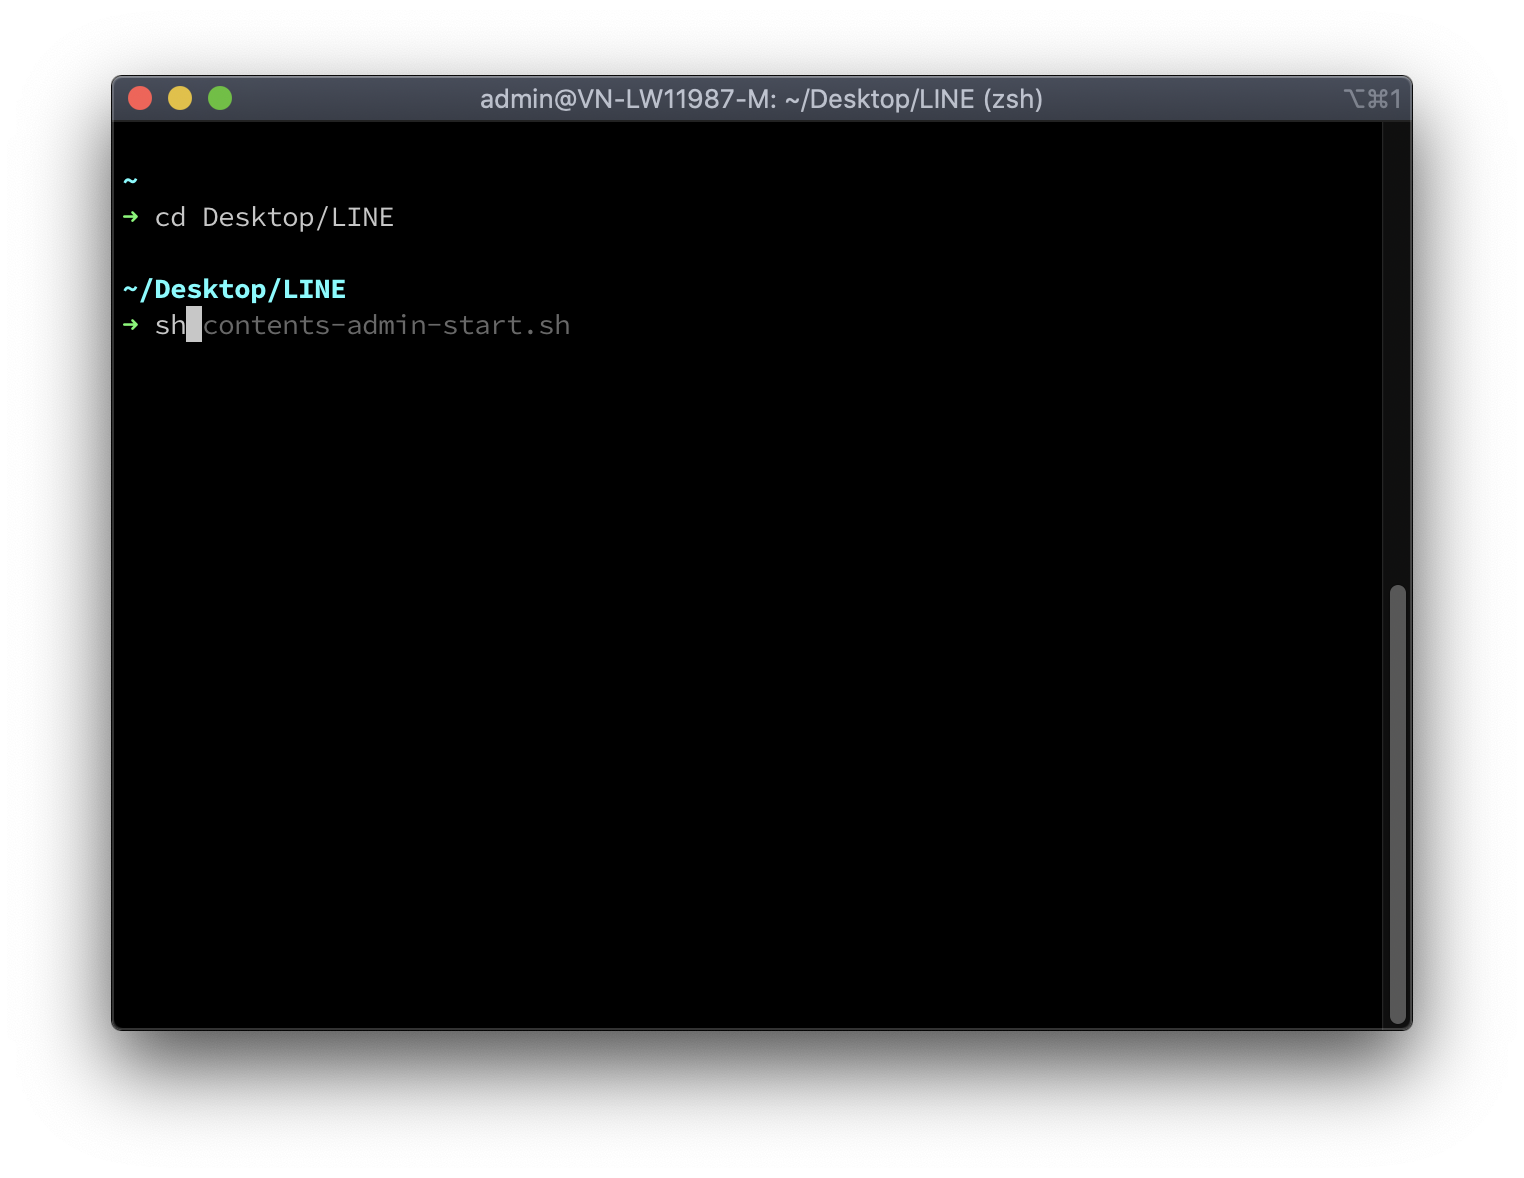
Then edit the zsh config at ~/.zshrc. This is my customization, which also uses a few other plugins like suggestion and auto complete:
git clone https://github.com/zsh-users/zsh-autosuggestions ${ZSH_CUSTOM:-~/.oh-my-zsh/custom}/plugins/zsh-autosuggestions
vim ~/.zshrc
plugins=(zsh-autosuggestions)
git clone https://github.com/denysdovhan/spaceship-prompt.git "$ZSH_CUSTOM/themes/spaceship-prompt"
ln -s "$ZSH_CUSTOM/themes/spaceship-prompt/spaceship.zsh-theme" "$ZSH_CUSTOM/themes/spaceship.zsh-theme"
vim ~/.zshrc
ZSH_THEME="spaceship"
Auto Jump
git clone git://github.com/wting/autojump.git
cd autojump
./install.py
Nerd Fonts
brew tap homebrew/cask-fonts
brew install --cask font-hack-nerd-font
Git, Docker, Node.js, Java and Go
Of course, to code you need these 4 guys 😄, super ez with brew:
brew install git
brew install docker
brew install node
brew tap homebrew/cask-versions
brew install --cask java
brew install go
Also install yarn and a few commonly used global Node.js libs for when you need them
npm install yarn -g
npm install serve -g
Code Editor
Visual Studio Code
I chose VSCode because it’s fast (of course not as fast as Sublime Text or Vim), has lots of utils and plugins, is well supported by the community, and is updated regularly. It integrates well with almost every language (I’m using VSCode to code JS, TS and Go, and Java works too 😄).
brew install --cask visual-studio-code
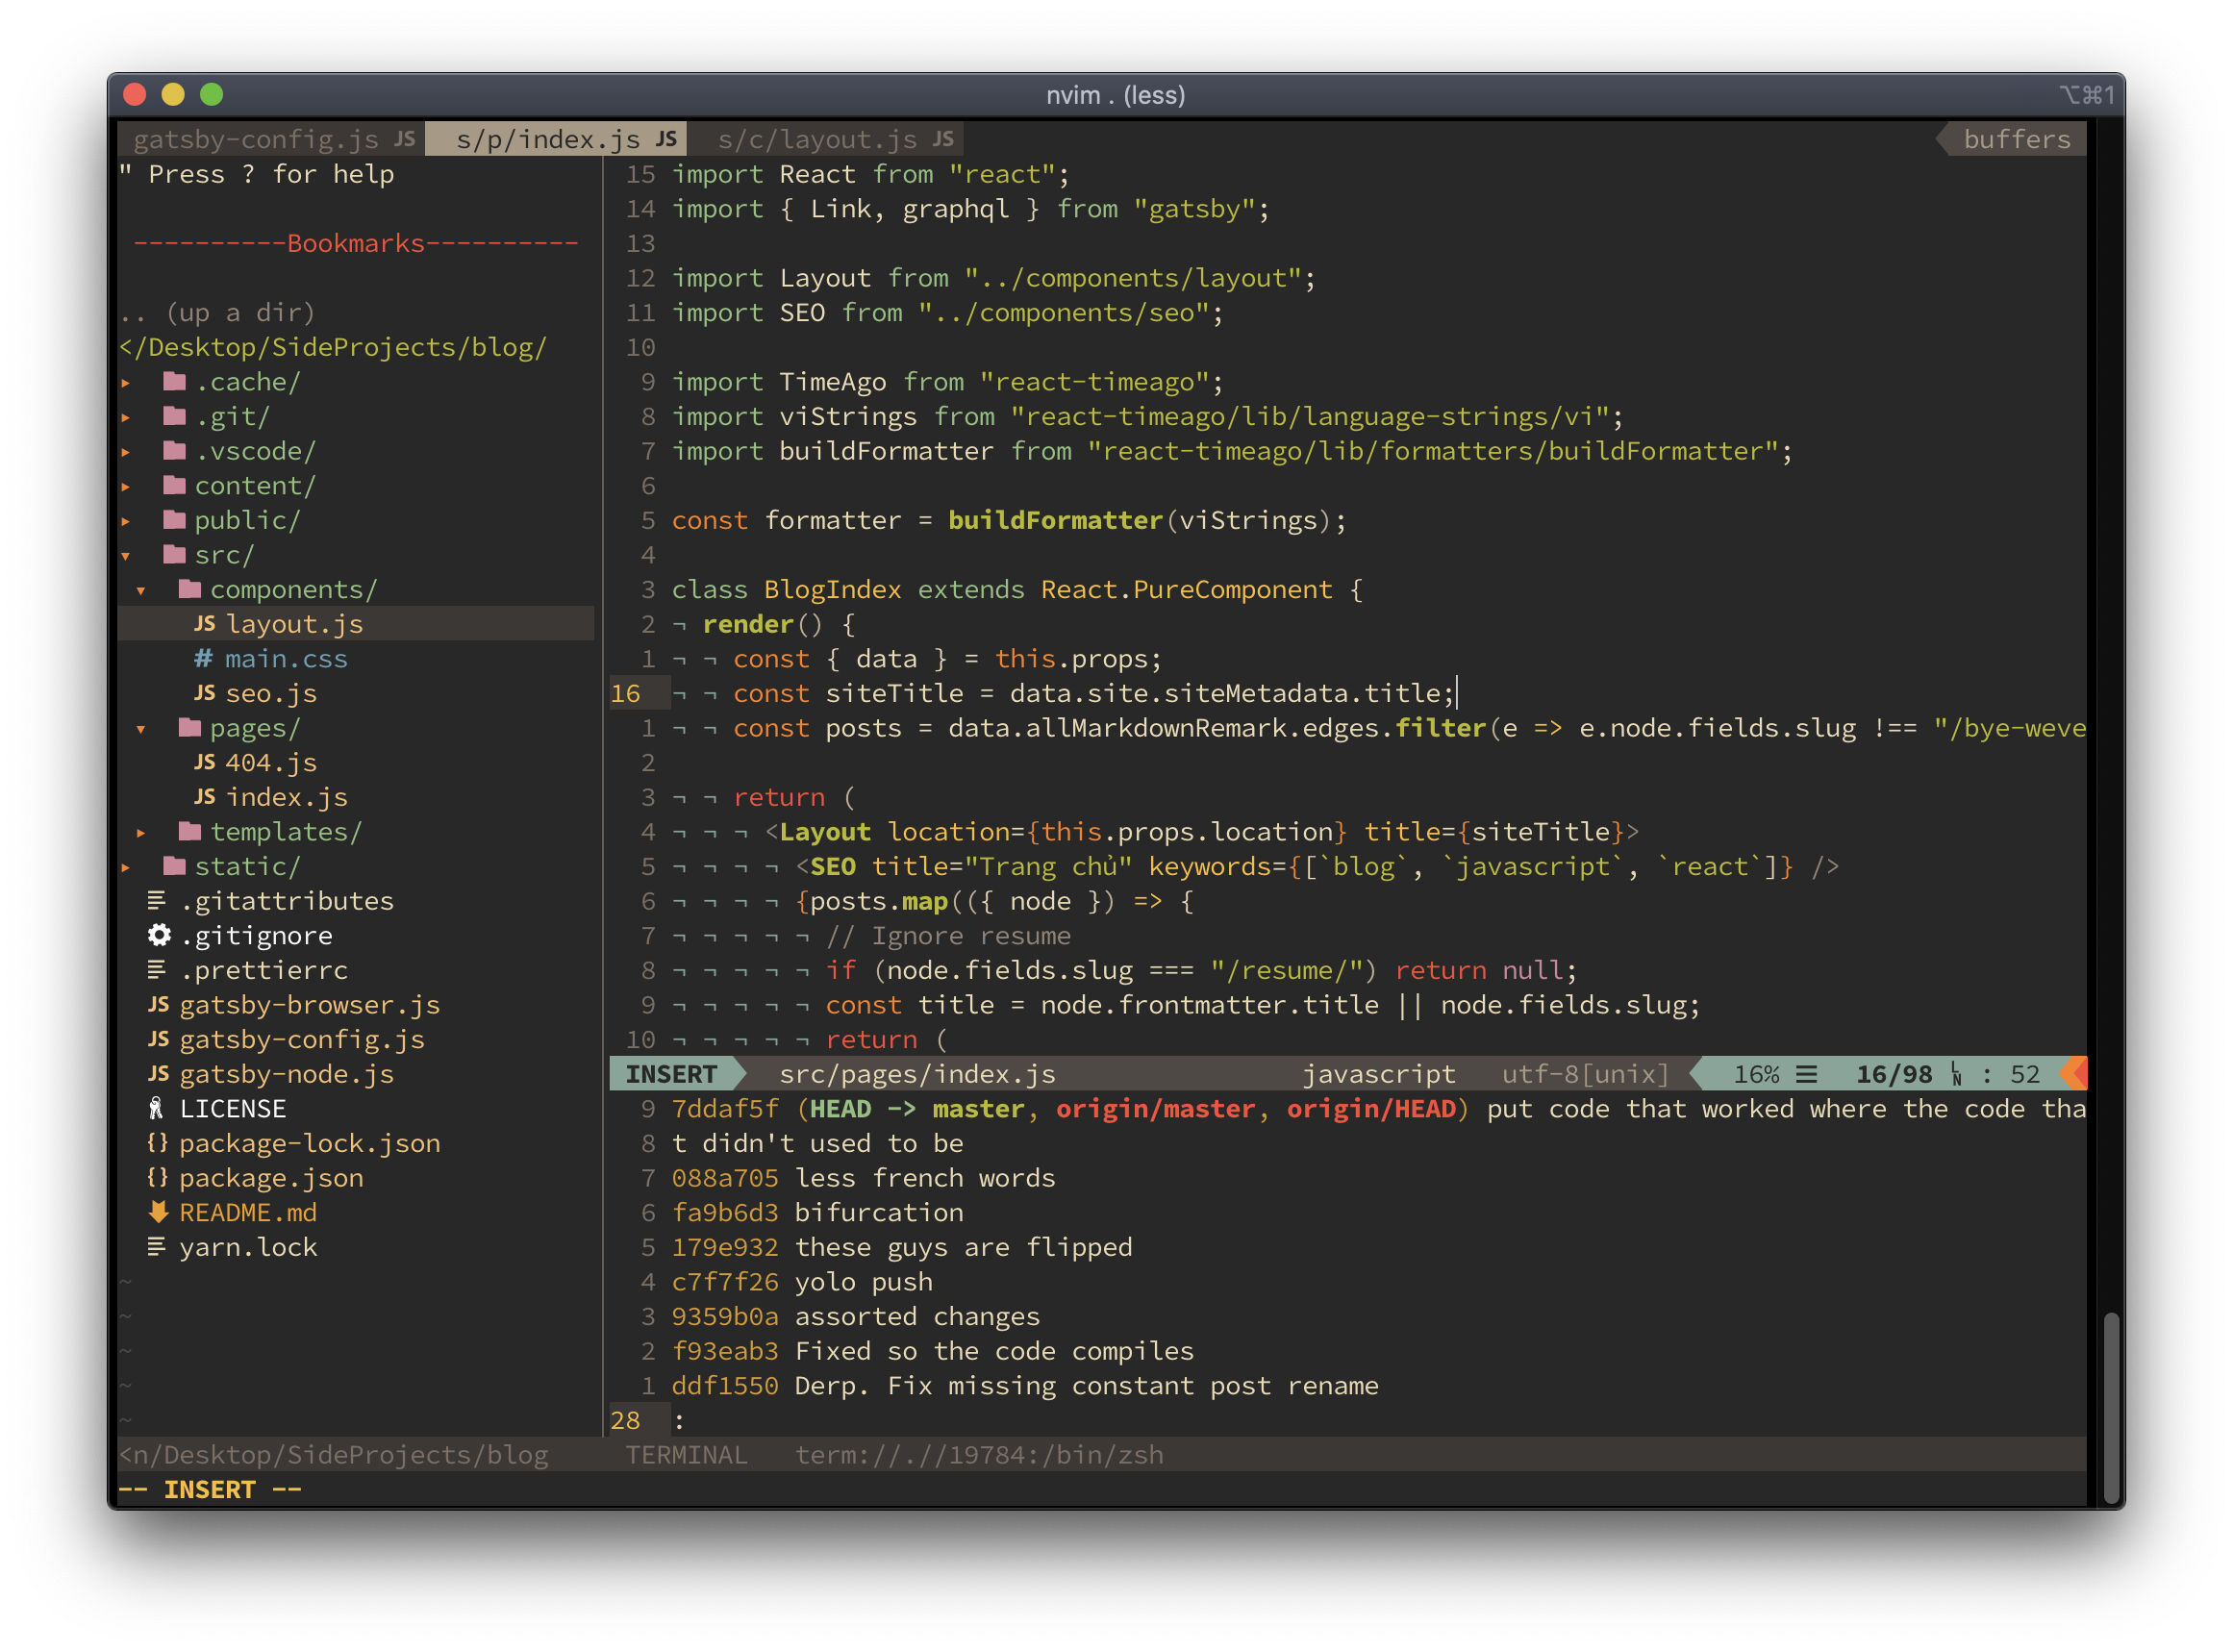
Vim: NeoVim
Install NeoVim:
brew install neovim
Install vim-plug for NeoVim:
curl -fLo ~/.local/share/nvim/site/autoload/plug.vim --create-dirs \
    https://raw.githubusercontent.com/junegunn/vim-plug/master/plug.vim
My preconfigured init.vim file: Gist
vim ~/.config/nvim/init.nvim

Jetbrains Collection
*I switched to Jetbrains IDEs in 2020.
brew install --cask intellij
brew install --cask goland
brew install --cask webstorm
brew install --cask datagrip
Browser
SafariFirefoxGoogle Chrome with Chrome Dev Tool is still the best 😄.
brew install --cask google-chrome
Other tools for dev and communication
brew install --cask postman

brew tap caskroom/cask
brew install --cask mysqlworkbench

brew install --cask slack
brew install --cask skype
brew install --cask caprine
Dotfile
Also, to save time (no need to configure), you can find and use ready-made dotfile sets here.